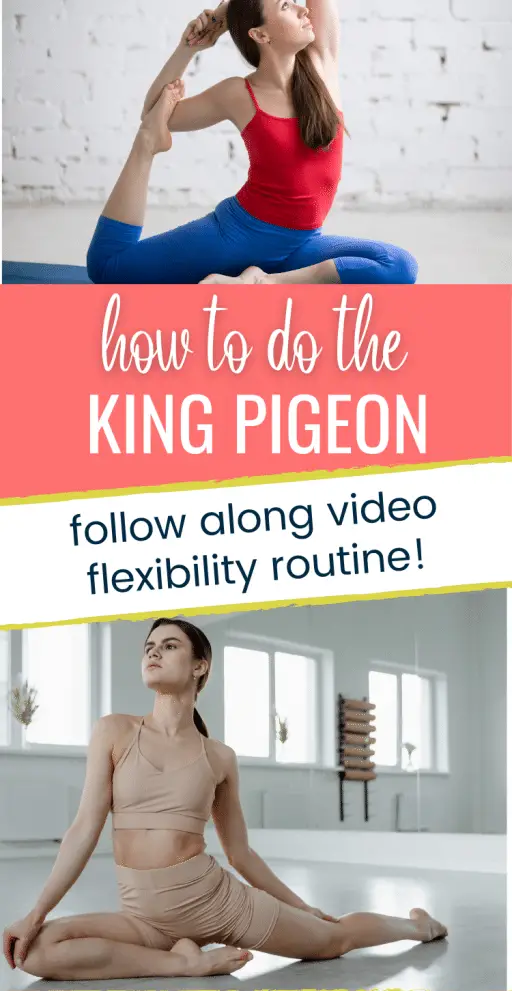
In this step-by-step tutorial for the king pigeon, you will learn how to do the king pigeon pose and its variations. I included a full-length video routine.
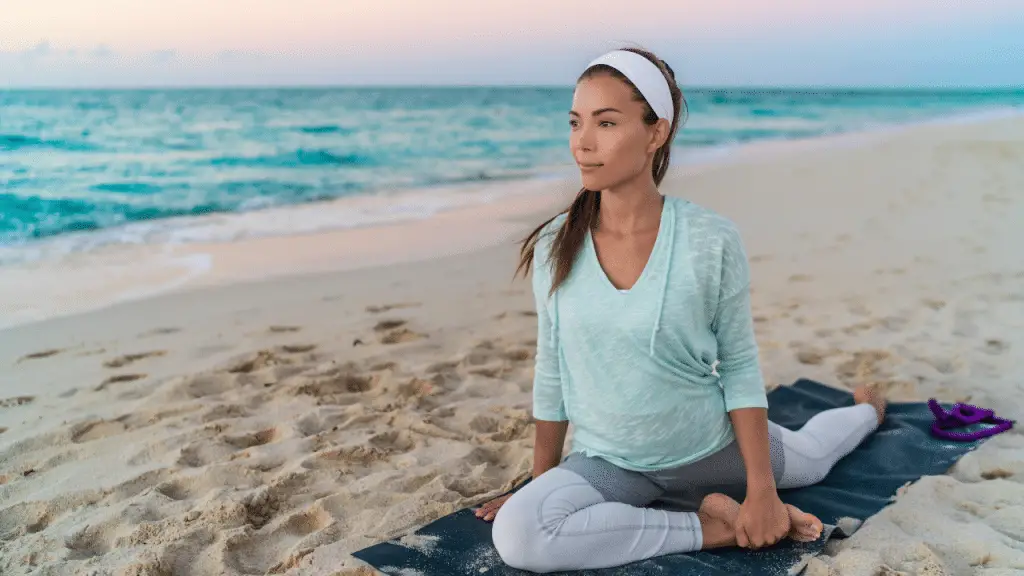
One of my favorite ways to enjoy yoga is to practice specific poses. I used to think yoga was boring. I envisioned yoga flows that don’t do much to improve your fitness and make you want to fall asleep. That is until I started seeing fantastic yoga poses online (like the king pigeon pose😊) and decided that I would love to be able to do them. I got a subscription to Alo Moves and started trying some daily workouts. I have never looked back! I decided to get certified as a yoga instructor to help other women who follow me enjoy the benefits of this incredible practice. Yoga has been a powerful tool in improving my strength and flexibility.
How to Do the King Pigeon Pose Video
Update: I created this tutorial video as a brand-new yoga instructor. There is always room for growth! Since then, I have learned much more and made other back-bending and flexibility tutorials. For example, Benefits of the Wheel Pose in Yoga and How to Get Started, Yoga for Shoulder Flexibility: Improve Your Posture Fast, Low Lunge Yoga Variations: 5 Strength and Flexibility Drills.
Lastly, I created a 5-Day Yoga Habit Challenge to help those who want a quick and easy way to get started with yoga.
King Pigeon Pose Benefits
Today, I want to share my latest yoga discovery, the king pigeon pose or Eka Pada Rajakapotasana in Sanskrit. I love the king pigeon because it helps improve your leg and back flexibility. It also helps practice maintaining a good posture (for more help on improving your posture, read How to Improve Your Posture).
Here are some of the benefits you may experience from working on the king pigeon pose:
- Boosts your energy
- Opens up your chest
- Improves your hips and back flexibility
- Relieves tension in your back and neck
- Improves your posture
I even read that you can use the king pigeon and its variations to improve digestion.
King Pigeon Pose Variations
The king pigeon pose requires a lot of back and shoulder flexibility. I am not there yet (I use a yoga strap and will show you how to do so). However, there are some variations you can use as you progress in your yoga practice. Let’s consider each of the variations in the order of difficulty level: pigeon pose, king pigeon without the flipped grip, mermaid pose, and full king pigeon.
Pigeon Pose
Here’s step-by-step how you can get into pigeon pose:
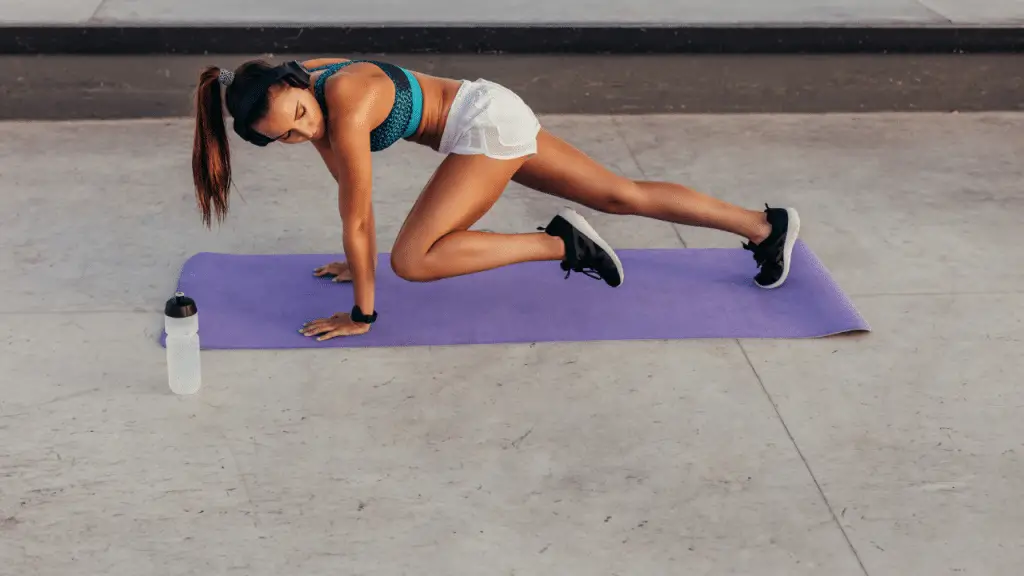
- Start on all four
- Bring your right knee near your right wrist
- Straighten your left leg behind you
- Keep your right heel close to your crotch, or bring your heel further out to make your shin parallel with the mat if that feels comfortable.
- Make sure your hips are facing forward.
Keep your chest open, and bring your neck slightly back. You are in the pigeon pose! Now, you can take your forearms to the ground before you. Rest in the stretch for a few breaths.
King Pigeon Without the Flipped Grip
From here, you can raise your upper body back up. See if you can lift up your left foot off the mat and bring it closer to your upper body. Use one of your hands to grab your ankle.
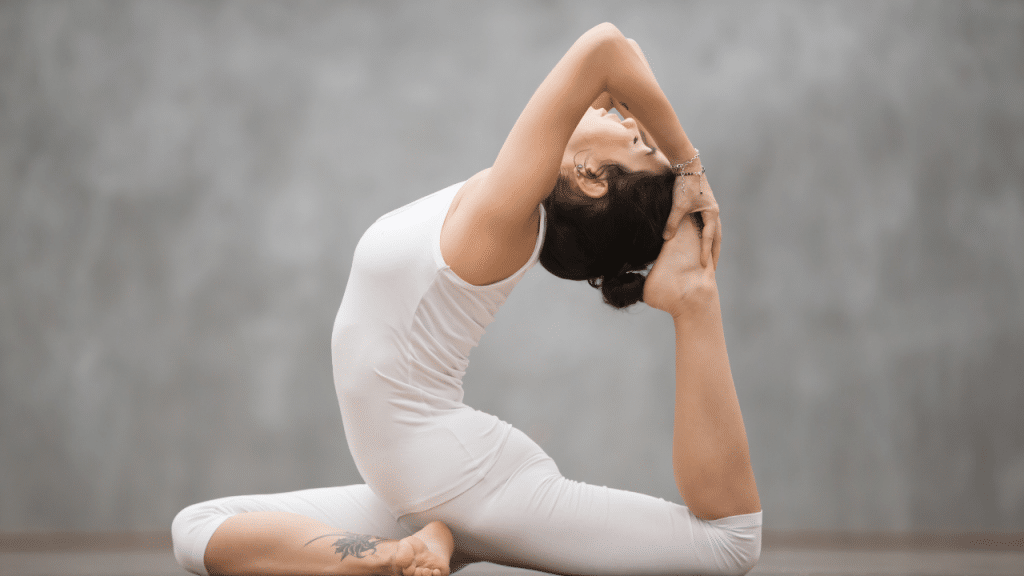
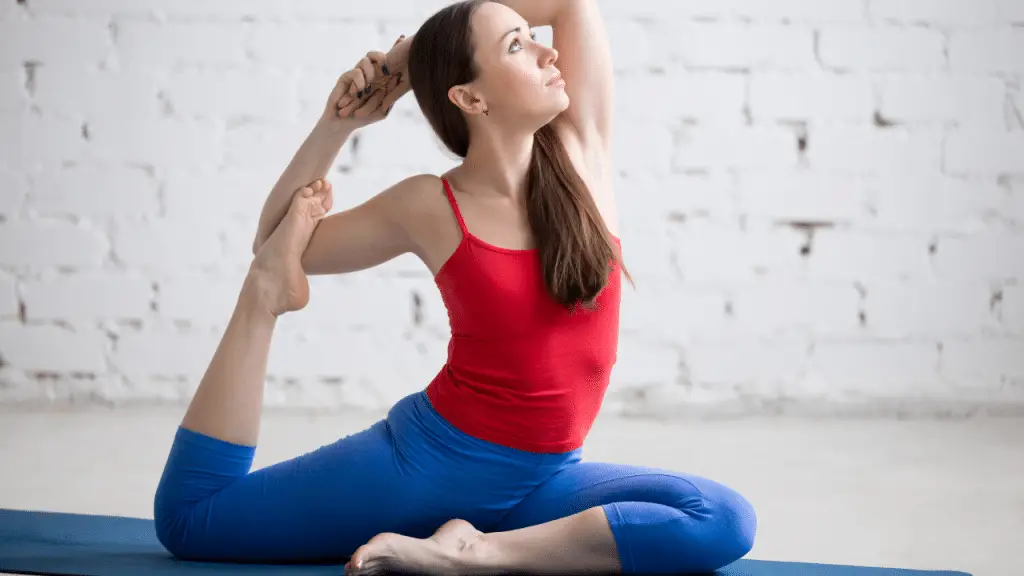
Mermaid Stretch
Now, see if you can put your left ankle inside your left elbow joint. See if you can clasp your right hand with your left behind your head. Gaze up, and keep your chest open.
How to Do the King Pigeon Pose
To prepare your body for the king pigeon pose, it’s a good idea to start with the more accessible variations I mentioned in the first section. You can also stretch your psoas, hips, and back first. I will show you how to achieve this in my video king pigeon pose routine.
Stretching to Prepare for King Pigeon
Here are some of my favorite stretches you can use to prepare for king pigeons:
- Cobra
- Cobra with half-frog
- Frog pose
- Puppy pose
- Lunges
- Pigeon pose
Mistakes to Avoid When Doing the King Pigeon Pose
As you work on achieving the king pigeon pose, try to avoid making the following mistakes:
- Turning your hips to one side. Make sure your hips are facing forward.
- Tensing your neck and shoulders. Relax in the pose and avoid lifting your shoulders.
- Rotating your rear leg. It should remain in a neutral position. Tuck your toes under to check if you need to adjust your leg.
- Rounding your shoulders. Open your chest and tilt your head slightly back.
- Not protecting your lower back. Keep your abs lifted as you relax your lower back.
- Not keeping your legs active. You are scissoring your knees towards one another in the king pigeon pose. As you get more flexible in the back and shoulders, you may notice the stretch in the hip flexors as well.